


Programming NodeMCU with Phone (Blynk)
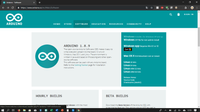
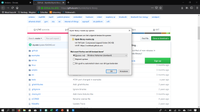
Placed onFirst the Arduino IDE must be downloaded and installed from the Arduino website: https://www.arduino.cc/en/Main/Software
Click on “Windows Installer”
Click on “Windows Installer”
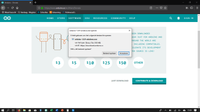
Click on “Just download”
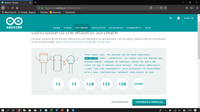
Click save, then run.
If your PC asks if the app can make changes to your PC, press “yes”.
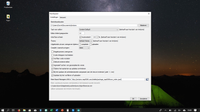
Follow the instructions on your screen to install the Arduino software.
If your PC asks if the app can make changes to your PC, press “yes”.
Follow the instructions on your screen to install the Arduino software.
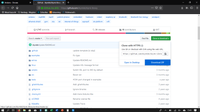
Now that the Arduino software has been installed, the Blynk library must be installed:
https://github.com/blynkkk/blynk-library
Press “Download ZIP”
https://github.com/blynkkk/blynk-library
Press “Download ZIP”
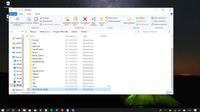
Press open.
Press copy.
Paste this folder into the folder: C:\Program Files (x86)\ Arduino \libraries
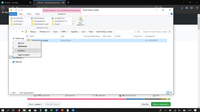
Now the NodeMCU library needs to be installed:
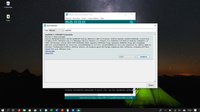
Go to file, preferences
Go to file, preferences
For more board manager URLs, enter this link and press OK: http://arduino.esp8266.com/stable/package_esp8266com_index.json
Now go to tools, board, board management.
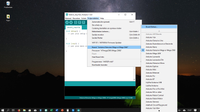
Type in esp8266 and press install:
Now the Arduino IDE is ready to use with the NodeMCU.
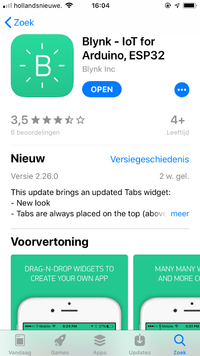
The Blynk app must now be installed from the Play Store or from the App Store:
Android: https://play.google.com/store/apps/details?id=cc.blynk&hl=nl
Iphone: https://itunes.apple.com/us/app/blynk-iot-for-Arduino-esp32/id808760481?mt=8
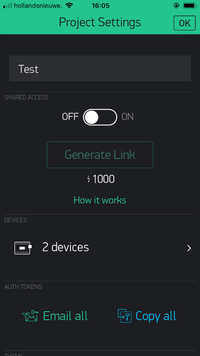
Once the Blynk app has been installed, an account must be created and the API key must be copied from the app.
Install the Blynk app.
The Blynk app must now be installed from the Play Store or from the App Store:
Android: https://play.google.com/store/apps/details?id=cc.blynk&hl=nl
Iphone: https://itunes.apple.com/us/app/blynk-iot-for-Arduino-esp32/id808760481?mt=8
Once the Blynk app has been installed, an account must be created and the API key must be copied from the app.
Install the Blynk app.
Create a new project and give it a name. Then you have to press Email all under the heading Auth tokens. The e-mail you receive in your mailbox now contains a long code that you must save for later.
Now we will program the NodeMCU.
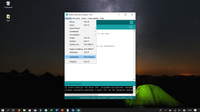
Grab your NodeMCU with a USB cable and connect it to your computer.
Now you need to open the Arduino software.
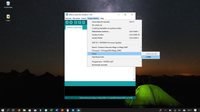
Select tools, port and now press the COM port of your NodeMCU.
Grab your NodeMCU with a USB cable and connect it to your computer.
Now you need to open the Arduino software.
Select tools, port and now press the COM port of your NodeMCU.
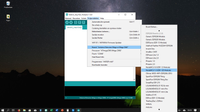
Now press tools, board, and press NodeMCU 1.0
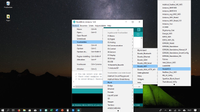
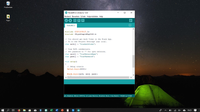
Now go to Examples, Blynk, Boards_WiFi, NodeMCU
Now enter the code you received in your mailbox instead of “YourAuthToken”.
In the place of "YourNetworkName" and "YourPassword", enter your network name and password. (don't forget the brackets before and after the code and of your network name and password.)
In the place of "YourNetworkName" and "YourPassword", enter your network name and password. (don't forget the brackets before and after the code and of your network name and password.)
Then press upload (that's the right arrow in the blue bar) and the code is on the NodeMCU. While the computer is uploading, press the reset button on your NodeMCU once for two seconds.