3D Clock
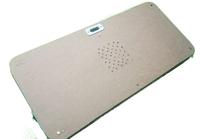
Placed onThe backside
For the back you can use a piece of plywood that you saw in the same shape as the clock. In the corners you drill four small holes (3mm), so that you can fix the plate with a few small screws. At the top in the middle you can make a small slot and glue the 3D-printed file 'hook.stl' on it, so you have a hook on which you can hang the knock.
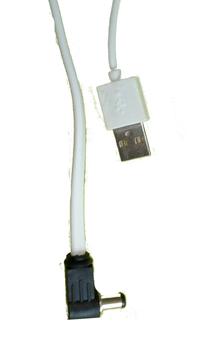
To power the clock we use a 5V voltage, since the standard USB cables are not that long, we make our own cable, to limit the voltage loss we use a standard 1.5mm² cable. At one end we make a USB connector, at the other end a DC connector. We use the outside of the DC connector as ' - ' or GND.